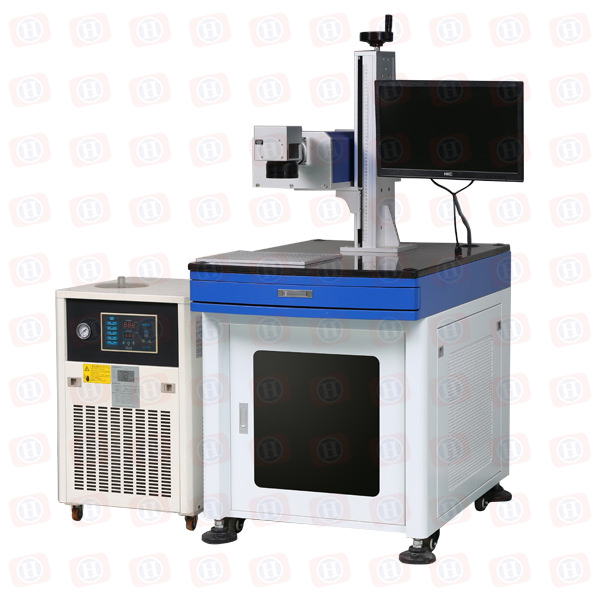
Optical path adjustment step of UV laser marking machine
The optical path adjustment of the UV laser marking machine is adjusted to the best condition by the technicians of our company before leaving the factory, and it is not necessary to adjust it under normal conditions. If the laser light-emitting effect is deteriorated due to long-term use or vibration, human factors, etc., or if the laser needs to be adjusted due to the marking request, it can be slightly adjusted as follows:

1) Disassemble the laser cover and adjust the red light indication first. When adjusting the red light, ensure that the red light hits the center of the hole in the front end plate. The method of conditioning is to first place the red light indication near the front end plate, adjust the upper and lower and left and right knobs on the device frame, so that the red light hits the center of the round hole of the front end plate, and then the red light is brought close to the rear end plate, and the conditioning device frame is placed. The rear pitch and left and right pendulum buttons. Repeat the above operation until the red light is collimated. 2) Conditioning the output mirror, the semiconductor module, and the full mirror so that their centers coincide with the red light. 3) Press the boot process to turn on the power, turn off the Q drive power, and leave the laser in the light-emitting state. 4) Place the fluorescent conversion sheet on the front end of the output mirror to increase the current of the laser power source until the laser output is observed. 5) Condition the output mirror knob to make the laser output spot reach the best (circular, average). 6) During the conditioning process, if the laser is too strong, the laser power supply current should be properly reduced to avoid damage to the fluorescent conversion sheet. 7) Remove the beam expander and see if the spot you have adjusted is passing through the middle of the output hole of the front plate. If not, apply the two buttons of the upper and lower buttons of the full mirror and the two buttons of the output mirror to stop conditioning. Keep an eye on the buttons on the two frames, up and down. For example: if your laser is now biased to the right, then you should first apply the full mirror and the upper button of the output mirror to twist the laser to the center of the front and rear holes in the same direction. Then the next step is to twist the full mirror. The lower button of the frame and the output frame adjusts the left and right centers of the spot so that the laser is not conditioned. (The upper button is the upper and lower center of the twisting laser, and the lower button is the center of the left and right of the twisting laser). 8) After the center is confirmed, let the spot be able to reach the best.9) Install the beam expander so that the flared spot passes through the center again.
(This article was originally written by Sunrise Laser. The reprint must indicate the source:www.lasersunrise.com , cherish the labor results of others, is to respect yourself)


